• Skip to primary navigation
  • Skip to main content
  • Skip to primary sidebar

The Nordic Kitchen

  • Home
  • Start here
  • Recipe Index
    • Recipe Index
    • Breakfast >
      • Breakfast
      • Bread
      • Smoothies & Drinks
    • Main Dishes >
      • Main Dishes
      • Salads
      • Sauces & Spreads
    • Sweets >
      • Cakes & Cookies
      • Dessert
      • Sweets & Treats
    • Christmas
  • Categories
    • Beauty
    • Business & Blogging
    • Gardening
    • Nordic Lifestyle
    • Pregnancy
    • Travel
  • About
    • About me
    • Portfolio
    • Work with me
  • Contact
  • Shop

Paper stars – a DIY guide

23 november, 2019

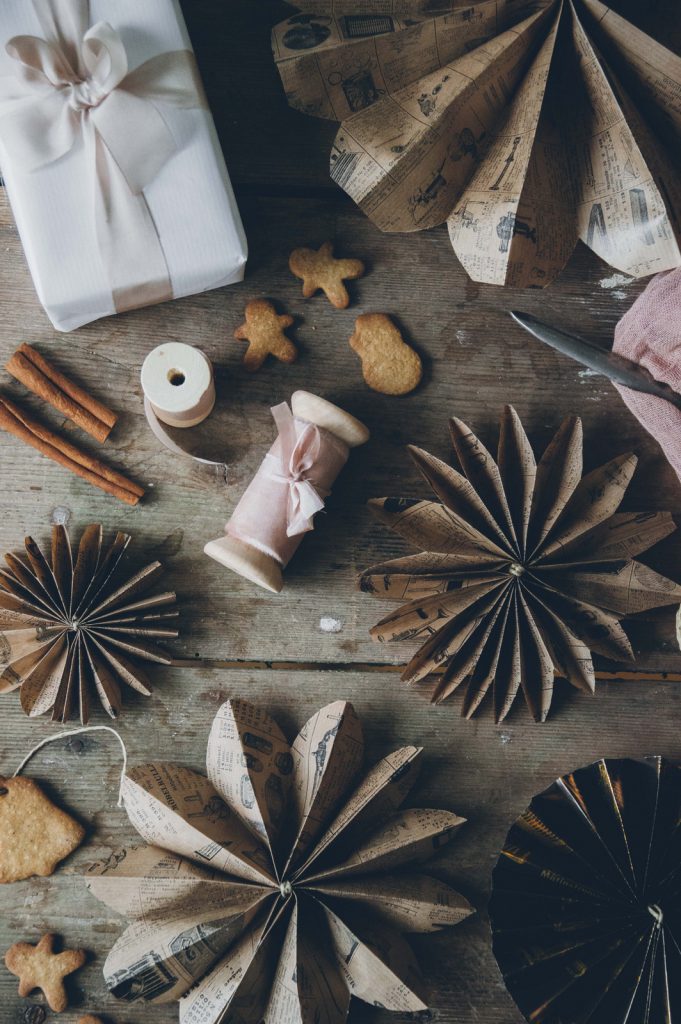
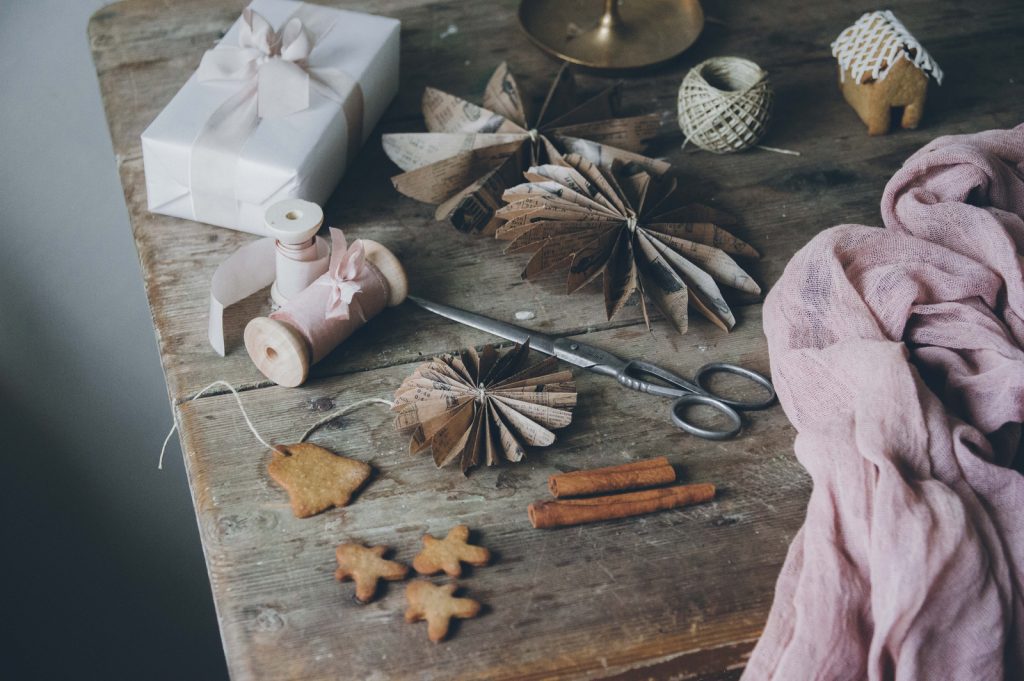
So many of you asked for a guide on how to fold the paper stars I shared on Instagram the other day. This idea is absolutely not my own, I was inspired by Sofia and Angelica, so I’m not taking any credit for this at all. But you wanted a guide (and one in English) so I made one. 

You can make these stars in an endless number of ways. Cut the edges differently, change the thickness of the folds, or change the width. I will hang the bigger ones in the window or on a wall and the smaller ones are perfect for decorating Christmas gifts. And why not put some in the Christmas tree? 

What you need:

  • Paper of any kind (leftover wallpaper, wrapping paper or any other paper you like)
  • A sharp pair of scissors
  • Glue (I use a non-fancy glue stick)
  • Hemp ribbon or similar 

So, are you ready to start making your own stars? I’ve tried to make the guide as detailed as possible and I hope you’ll find it useful. Have fun!

Instructions

You need a piece of paper that is twice as long as it is wide. Prepare a couple while you are at it. 

Start folding the paper like a fan. Fold once, flip it, fold again. Repeat with the entire paper. 

Fold the ’fan’ in the middle and tie a ribbon around it. Tie a knot and cut off the ends.

Now it’s time to cut the ends of the fan. You can create a rounded shape or a sharper one (see mine below).

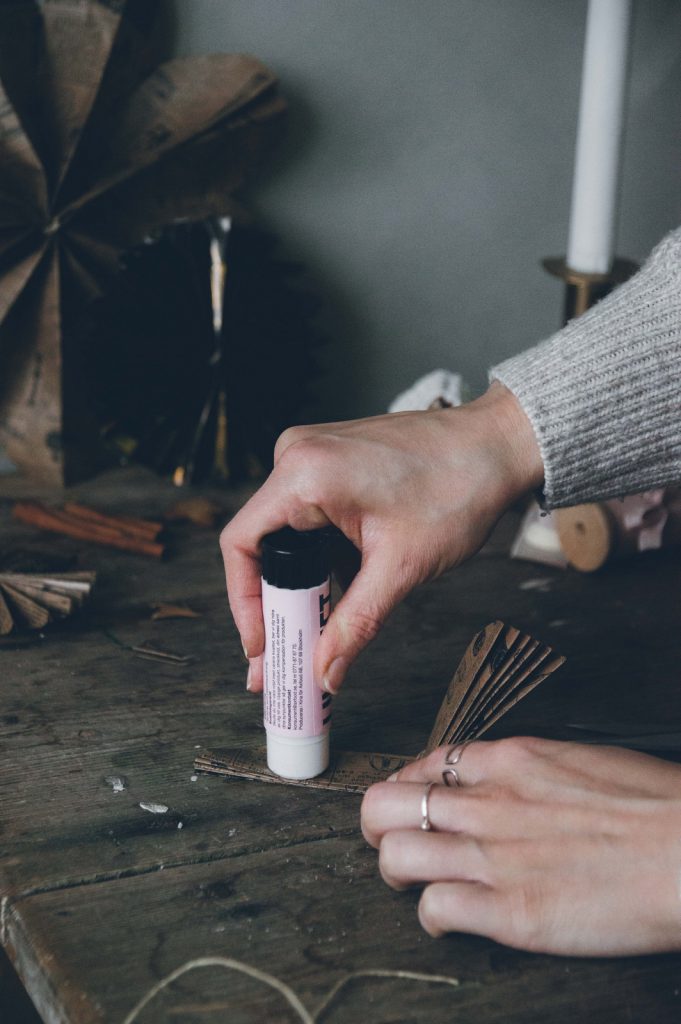
Put glue on one side and press together. Then repeat on the other side and press together. After this step, your star is done.

And if you want to see more in detail how I made them, here’s a video too:
Previous Post: « Home made Glögg (mulled wine) + Printable tags
Next Post: Christmas cupcakes with gingerbread frosting »

Reader Interactions

Lämna ett svar Avbryt svar

E-postadressen publiceras inte. Obligatoriska fält är märkta *

Recipe Rating


Denna webbplats använder Akismet för att minska skräppost. Lär dig hur din kommentardata bearbetas.

Primary Sidebar

Hi,

I’m Sofia, a 29-year old foodie living in Stockholm, Sweden. I am a solopreneur and spend most of my days creating recipes and photographing food.

The Nordic Kitchen is a blog devoted to seasonal cooking, finding beauty in the everyday moments, and enjoying food that is good for us and the planet.

Here you’ll find plant-based recipes mixed with stories about my life in Sweden.

Welcome!

Contact: hello@thenordickitchen.com

Instagram

Something is wrong.
Instagram token error.
Follow

Categories

  • Beauty
  • Bread
  • Breakfast
  • Business & Blogging
  • Cakes & Cookies
  • Christmas
  • City Guides
  • Dessert
  • DIY
  • Food
  • Gardening
  • Main Dishes
  • Nordic Lifestyle
  • Personal
  • Pregnancy
  • Salads
  • Sandwiches
  • Sauces & Spreads
  • Smoothies & Drinks
  • Soups
  • Sweets & Treats
  • Travel